

Installation is not difficult. With simple tools, chop saw, welder, wrenches, level, square, vise grips, and power drill.
Track is shipped in 14 foot lengths, flanged at both ends. Cut track in two pieces to be installed between the cows. The length of each piece will be determined by the switch used. One side could be longer than the ‘other, check your measurements.
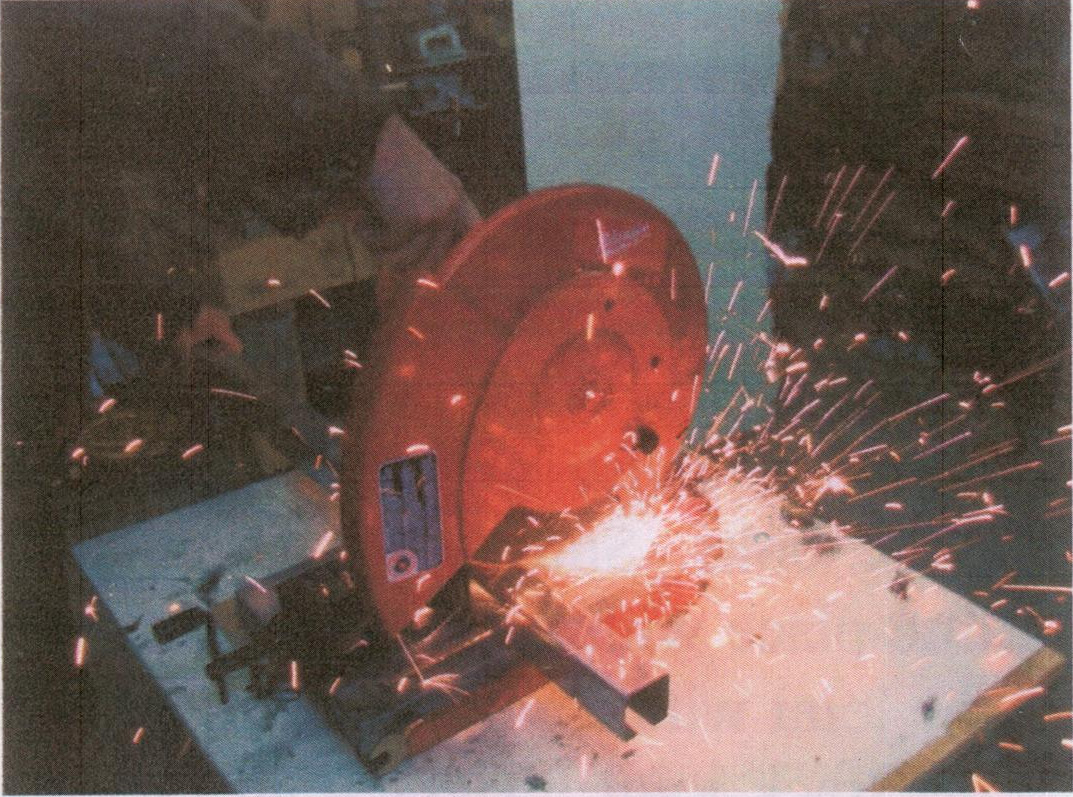
Track lengths must be measured cut and flanged to fit between the switches. Care must be taken to cut the track square both horizontal and vertically.
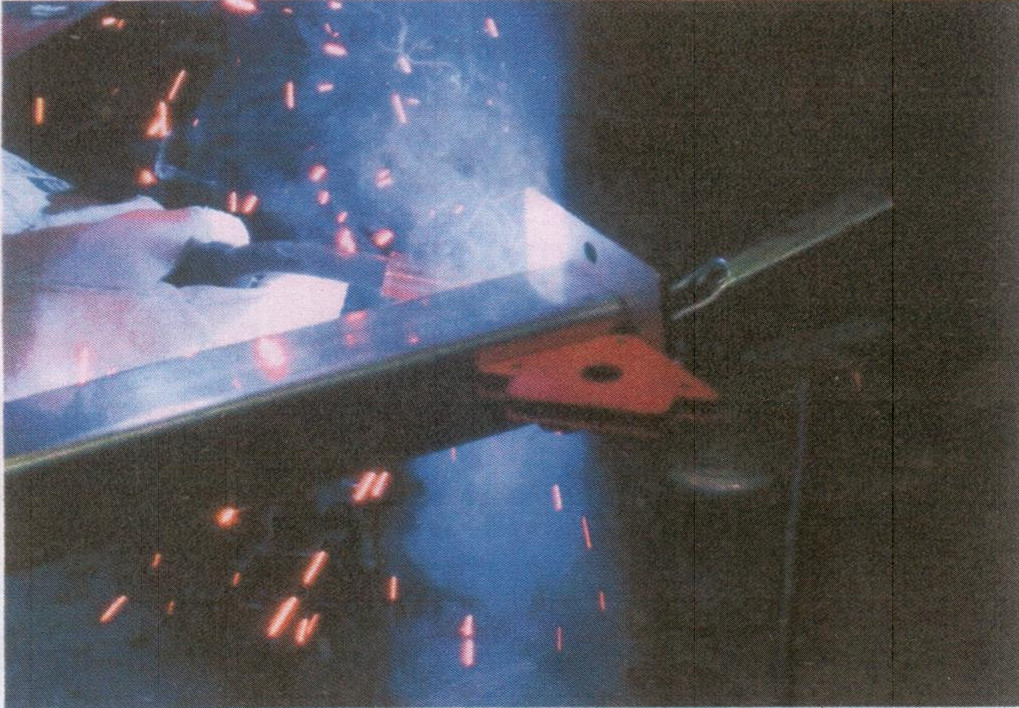
Weld the flange square flush to the end of the track. Deburr the inside edge of the cut end of the track. This is important to prevent wheel tire wear.
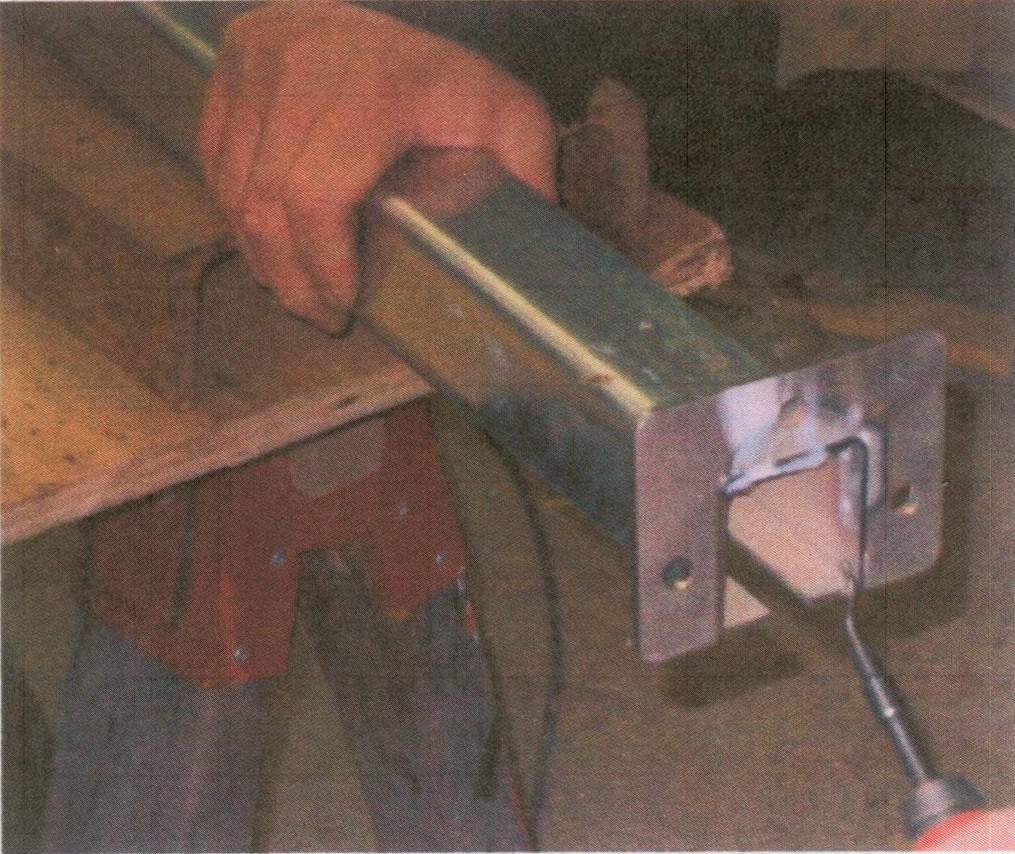
Track and switches are supported by the track hanger clamp and hanger sleeve. Fasten the clamp to the track install the sleeve and fasten tight with the bolts. Fasten roof angle clip to the ceiling of the barn, then attach a sleeve. Slide a section of 1/2” pipe into the upper sleeve, fix with a tec screw. Set the track level and then fasten with a tee screw through the sleeve.
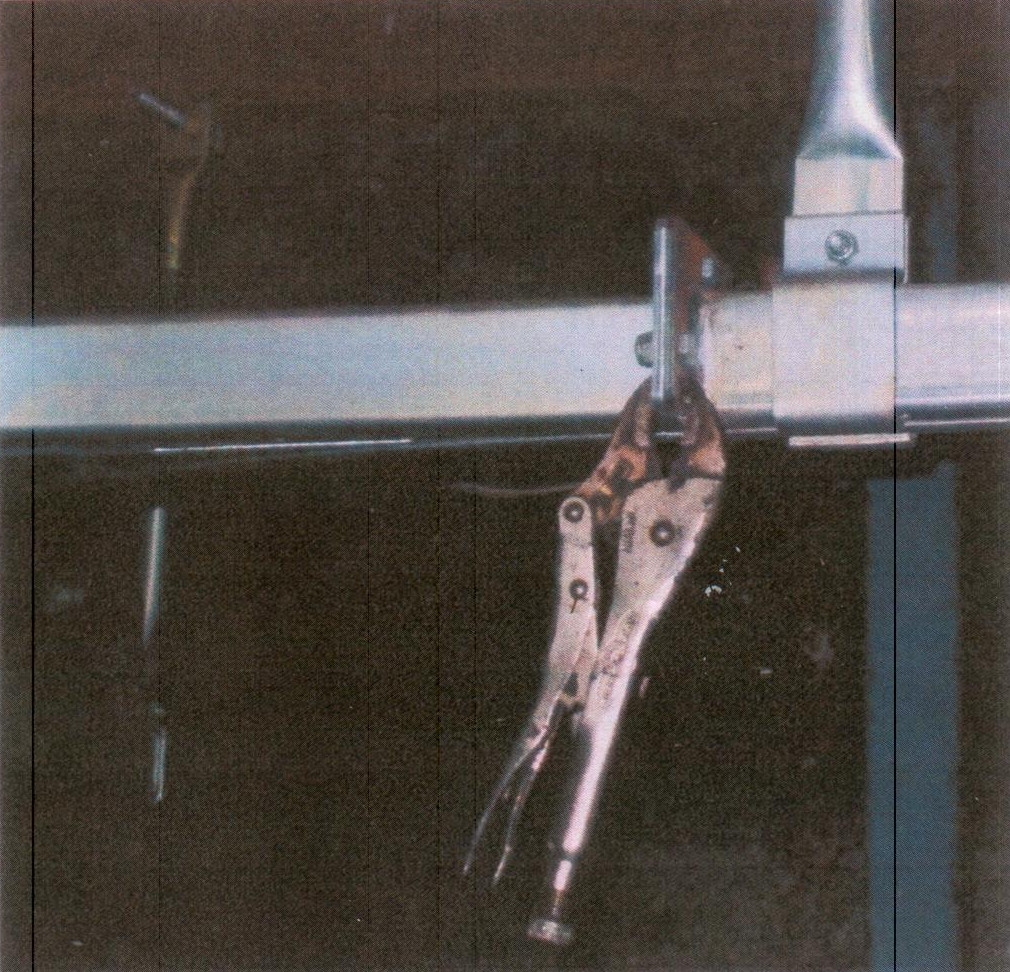
Track sections are fastened flange to flange to switches and the running straight lengths. Clamp a flange joint with the vise grip and insert the three bolts. Snug up the joint, tap into place with a hammer and wedge the joint with a cold chisel to aligred the track joint. Tighten all the nuts and bolts.
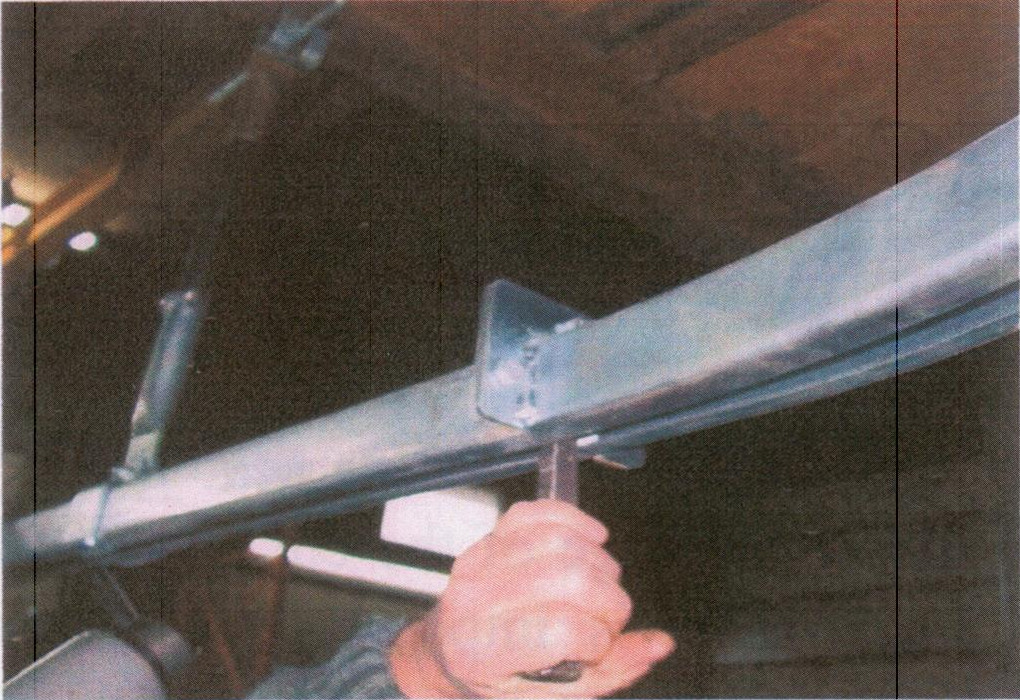
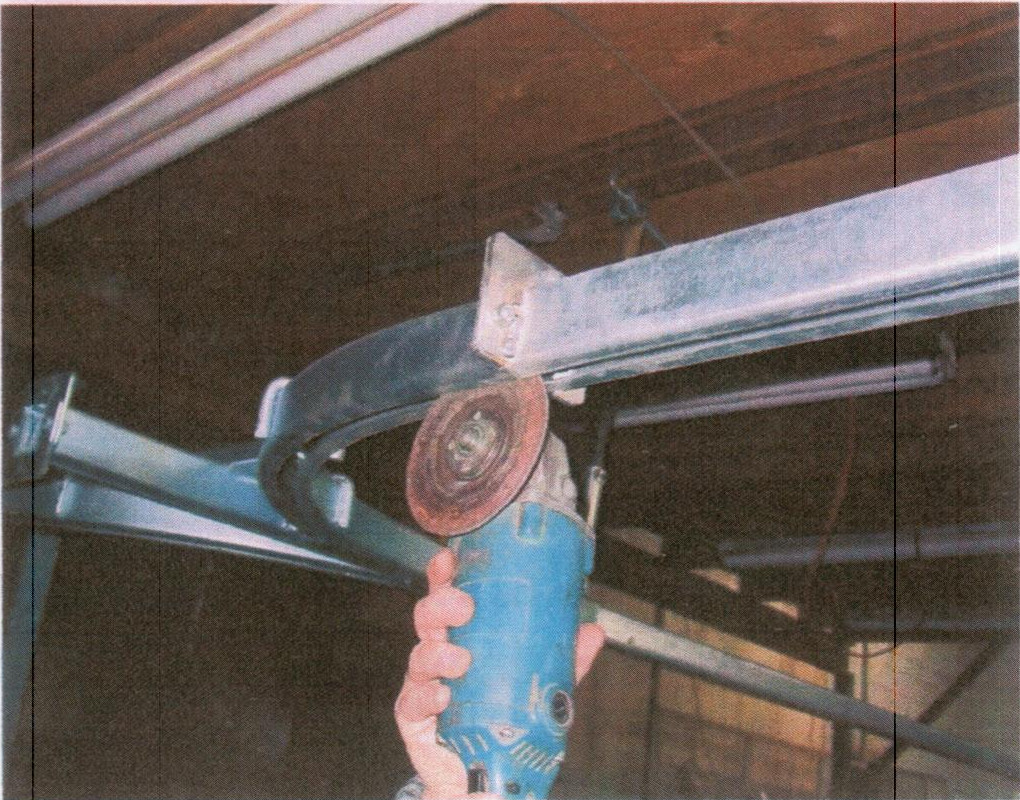
Once the system has been installed a tune up is required. Touch up each joint with a grinder to remove and small miss aligned joints of track.
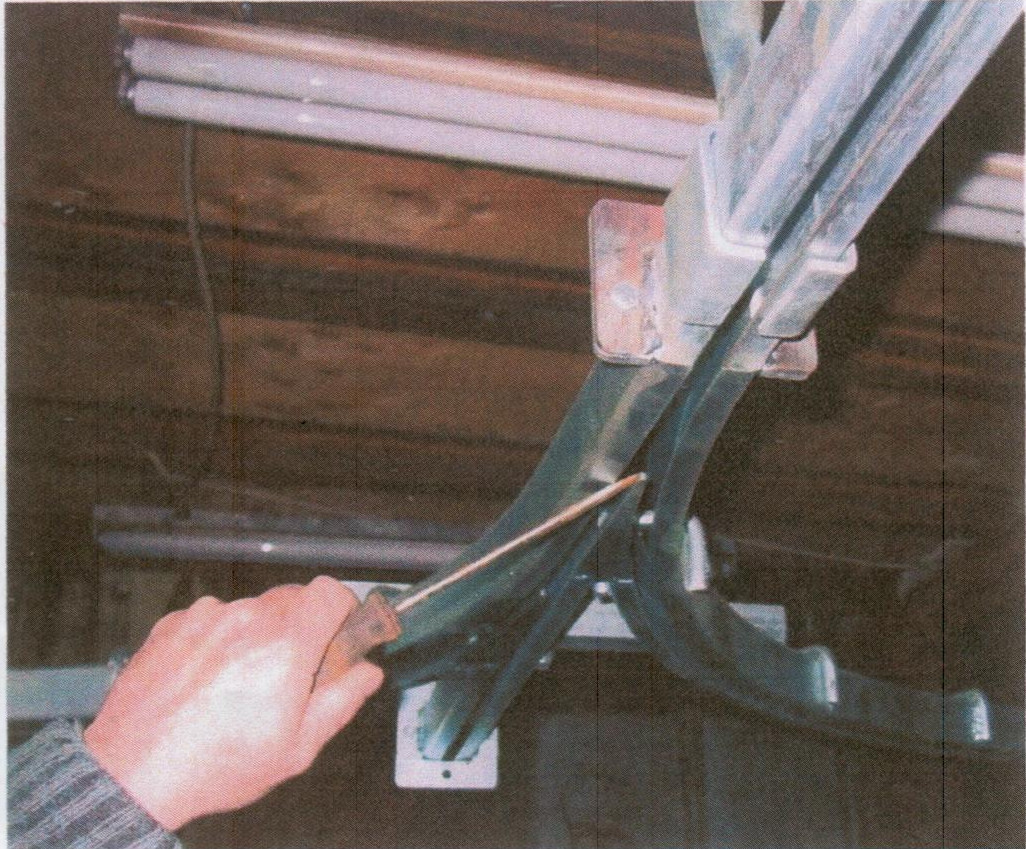
Check the tongues on the switches. With a pry bar or scew driver make certain the point of the tongue is just slightly below the level of the track.
Once the system has been installed a tune up is required. Touch up each joint with a grinder to remove and small miss aligned joints of track. Check the tongues on the switches. With a pry bar or scew driver make certain the point of the tongue is just slightly below the level of the track.
